In the last part, we explored how to set up what was basically a matrix and randomly assign elevation values to it. In this part, I wanted to explore how to deal with assigning values to the elements adjacent to the peaks, and how to display the map to users in a more intuitive way than a bunch of numbers.
But...
The code that we wrote on a single file in the previous part has global variables and is all written in a single method, and this would get unmaintainable fast. Let's first explore some of the nice features Go offers to help refactor this code.
Go modules
We have all our code in a main.go file in our home directory. There used to be
a special folder to keep all the Go files called $GOPATH, but as of Go 1.13 this
is deprecated, and we can now initialise Go modules anywhere to maintain our
code. I've found this super simple guide to Go modules handy whenever I want
to use them.
So, first, we move our main.go file to a folder of our choosing. I want to put all
of the code in this part and the others as separate modules on Github, so I'm going
to name this module github.com/janithl/go-terrain-gen/part2, to keep
things short and unambiguous. 😜
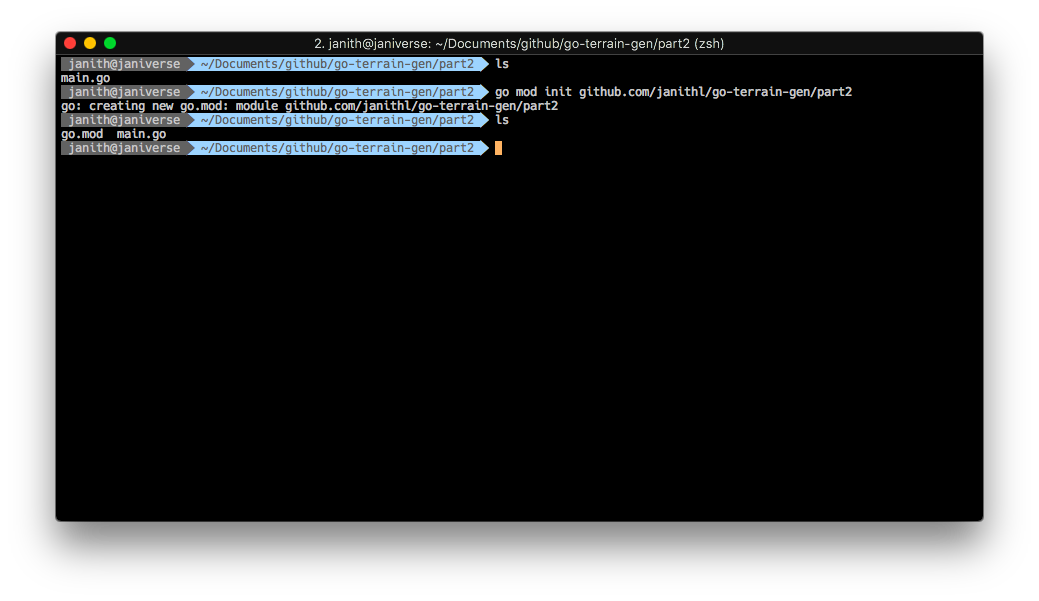
If we open up our go.mod file, we can find that it's very sparse right now since
we don't have any dependencies:
module github.com/janithl/go-terrain-gen/part2

go 1.12
Multiple files
I don't want to keep all the terrain generator logic inside main.go, so let's first
try to separate them out into two files.
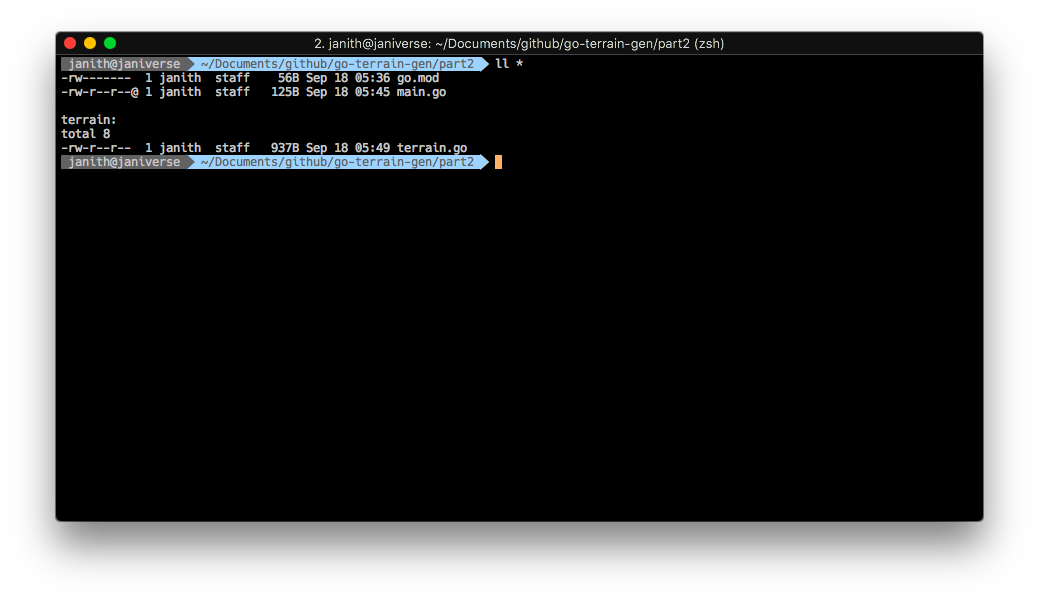
We move most of our app code into a different file, and a different package
called terrain. Since in Go, you have to keep packages in their different folders,
we move the code into the terrain folder, and name the file terrain.go.
package terrain

import (
    "fmt"
    "math/rand"
    "time"
)

const width, height, elevation = 16, 16, 9

// we set the random chance of a peak occuring to 5%
const peakProbability = 5

var fullMap [height][width]int

// Generate generates the terrain map
func Generate() {
    // rand needs to be seeded, so we set the current
    // nanosecond timestamp as the seed
    rand.Seed(time.Now().UnixNano())

    // iterate down from max elevation, assigning vals
    for e := elevation; e > 0; e-- {
        for h := 0; h < height; h++ {
            for w := 0; w < width; w++ {
                // if the element has already been assigned, skip it
                if fullMap[h][w] > 0 {
                    continue
                }

                // if the random value meets our criteria, it's a peak
                if rand.Intn(100) < peakProbability {
                    fullMap[h][w] = e
                }
            }
        }
    }
}

// Print prints the terrain map out
func Print() {
    // print out map
    for h := 0; h < height; h++ {
        fmt.Println(fullMap[h])
    }
}
This leaves our main.go file wonderfully sparse, and it looks like this:
package main

import "github.com/janithl/go-terrain-gen/part2/terrain"

func main() {
    terrain.Generate()
    terrain.Print()
}
Pretty neat, right? Let's execute it!
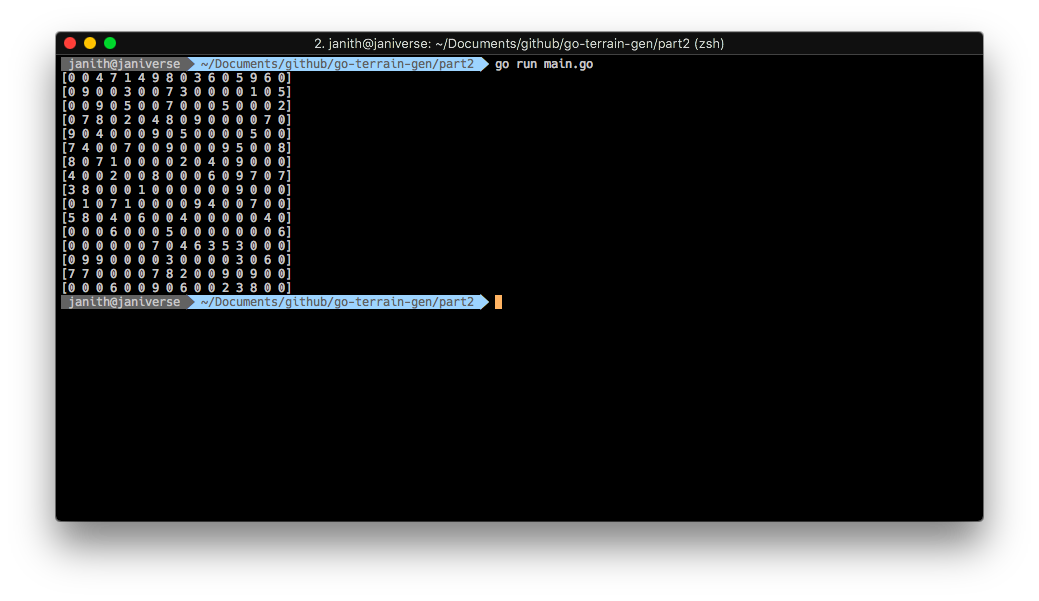
Boom! 🎆
Encapsulate
I don't like the structure of terrain.go right now, it's got stuff hanging around
and it's not very flexible (you can't even set the height and width of the map) and
extensible. Let's explore Go's structs and methods to make things cleaner.
We'll also use Go's slices to make the map resizeable at runtime.
The fullMap struct will look like this:
type fullMap struct {
    width, height, elevation, peakProbability int
    elements                                  [][]int
}
We can also add a function to construct a new fullMap1:
// NewFullMap returns a new terrain map
func NewFullMap(width, height, elevation, peakProbability int) fullMap {
    elements := make([][]int, height)
    for i := 0; i < height; i++ {
        elements[i] = make([]int, width)
    }

    return fullMap{
        width:           width,
        height:          height,
        elevation:       elevation,
        peakProbability: peakProbability,
        elements:        elements,
    }
}
Note how the height and the width of the map can be set dynamically now, in addition to the levels of elevation and the peak probability.
We can now rewrite the Generate() and Print() functions to work with the
new fullMap struct, which is pretty straightforward:
// Generate generates the terrain map
func (f *fullMap) Generate() {
    // rand needs to be seeded, so we set the current
    // nanosecond timestamp as the seed
    rand.Seed(time.Now().UnixNano())

    // iterate down from max elevation, assigning vals
    for e := f.elevation; e > 0; e-- {
        for h := 0; h < f.height; h++ {
            for w := 0; w < f.width; w++ {
                // if the element has already been assigned, skip it
                if f.elements[h][w] > 0 {
                    continue
                }

                // if the random value meets our criteria, it's a peak
                if rand.Intn(100) < f.peakProbability {
                    f.elements[h][w] = e
                }
            }
        }
    }
}

// Print prints the terrain map out
func (f *fullMap) Print() {
    // print out map
    for h := 0; h < f.height; h++ {
        fmt.Println(f.elements[h])
    }
}
The full code can be seen here.
Now, the main.go file will look a bit different, but this allows us
greater control over how the map is generated:
package main

import "github.com/janithl/go-terrain-gen/part2/terrain"

func main() {
    terrainMap := terrain.NewFullMap(16, 16, 9, 5)
    terrainMap.Generate()
    terrainMap.Print()
}
Let's run it:
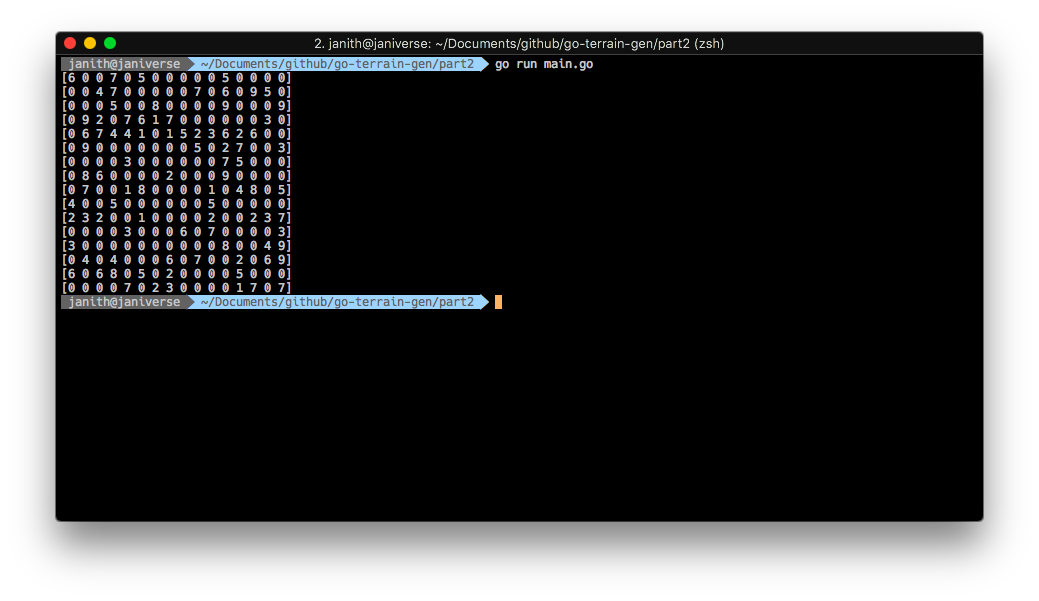
Yass! 🙌🏾
Add Some Flags
We can add some CLI flags to expose these newly added features to users.
package main

import (
    "flag"

    "github.com/janithl/go-terrain-gen/part2/terrain"
)

func main() {
    height := flag.Int("height", 16, "height of the map")
    width := flag.Int("width", 16, "width of the map")
    elevation := flag.Int("elev", 9, "levels of elevation on the map")
    peakProbability := flag.Int("peaks", 5, "percentage probability a peak will randomly appear")
    flag.Parse()

    terrainMap := terrain.NewFullMap(*height, *width, *elevation, *peakProbability)
    terrainMap.Generate()
    terrainMap.Print()
}
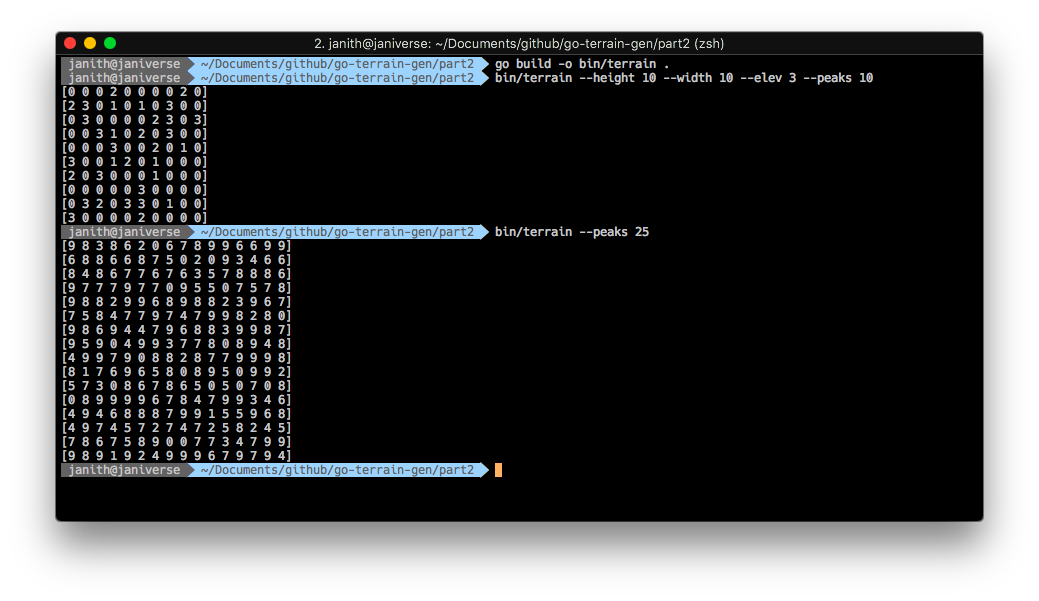
To run it, let's first build it with go build, and point the output to the
bin directory, and then execute with the CLI flags:
Running bin/terrain --help returns the usage details:
Usage of bin/terrain:
  -elev int
        levels of elevation on the map (default 9)
  -height int
        height of the map (default 16)
  -peaks int
        percentage probability a peak will randomly appear (default 5)
  -width int
        width of the map (default 16)
Pretty neat, Golang! 👏🏽👏🏽👏🏽
I know this was supposed to be an exciting installment where we were going to implement new features, but sometimes2, cleaning up the code you already have is just as rewarding. It also makes adding new features easier and less prone to bugs. In the next part, we'll explore adding better visualisation for our map.
The full code for this part can be found on Github.
-
Note how I am returning the struct itself instead of my usual practice of returning a pointer to the struct. This was due to this post by Phil Pearl, which taught me that it's more efficient to just return the struct itself. ↩
-
Especially with a beautiful language like Go. 😍 ↩