Remember Kottu? Those were the days. Anyway, Kottu has always been a totally open-source project, and theoretically it is as easy as cloning the git repo and... jumping a few hoops to set it up on your own local machine or VPS.
Except... the loops are tedious and there’s a bunch of things that could go wrong. There must be a better way, right?
Enter Docker. It promises to solve one of the oldest complaints in Computer Science, namely "it works on my machine". I’ve been using Docker at work for the past 6 months (hat tip to the wonderful Malitta Nanayakkara for getting me the job AND teaching me the basics of Docker) and my mind has been simply blown away by how simple and effective it is, and how I barely have to think about dependencies and reproducible environments anymore.
I won't get into the background of Docker and how it works, but there’s this wonderful series by Jeff Hale if you’re so inclined.
Step 1: Clone the Repo
It’s been almost over 2 years since I last messed with the Kottu source code, so it’s naturally no longer on my machine. I run a git clone and download the repo.
I look through the instructions and they basically go like “run kottu.sql on
the mysql server which you *obviously* have running on your machine
(#LAMPBoise) and then copy this into your webroot, update the config, and bam!
Kottu for the whole kadey!”.
But we’re in 2019 and no one is stupid enough to run mysql and Apache on their machines like that. I’m not even on Linux anymore! (the HORROR! 21 year old me writing Kottu would’ve spit in disgust if he knew I use a Mac now.)
Step 2: Look around the web for a docker-compose.yml file to hijack
No one writes software anymore, we just copy paste snippets from a thousand blog posts and StackOverflow answers, cobble it together, and pray it works.
I found two articles on this setup, one from DigitalOcean (excellent
resource) which is a bit Laravel-focused, and one from the
Geeky Platypus blog which was more generic. Kottu is custom PHP, and the
Geeky Platypus docker-compose.yml file was cleaner, so I used it as the base
with some bits pulled from the DigitalOcean guide. Note that both use nginx and
not Apache because we’re civilised human beings nowadays.
version: "2"

services:
  webserver:
    image: nginx:alpine
    ports:
      - "8000:80"
    volumes:
      - .:/var/www
      - ./docker/nginx/site.conf:/etc/nginx/conf.d/default.conf
    networks:
      - internal
      - default
  db:
    image: mysql:5.7
    ports:
      - "3306:3306"
    environment:
      MYSQL_DATABASE: kottu
      MYSQL_ROOT_PASSWORD: your_mysql_root_password
    volumes:
      - ./docker/dbdata:/var/lib/mysql/
      - ./docker/mysql/my.cnf:/etc/mysql/my.cnf
    networks:
      - internal
  php:
    image: php:5.6-fpm
    build:
      context: .
      dockerfile: ./docker/php/Dockerfile
    volumes:
      - .:/var/www
    networks:
      - internal

networks:
  internal:
    driver: bridge
  default:
    driver: host
Okay, there’s a bit to digest here:
We’re creating three services that work together, namely webserver, php and db.
The webserver is straight up garden variety nginx running on Alpine Linux, which
is very popular for Docker images because of the tiny size. It is exposing port
8000 (traditional Kottu port) on Localhost, and directing traffic from there
to the standard 80 port.
The root directory of the repo is being mounted on /var/www, and a nginx conf
file we have inside our Docker folder is being set as the default.conf for
nginx. More on this conf file (and networking) later.
The db service is based on a standard mysql 5.7 image1, exposing the
standard mysql port of 3306, and with some env variables for setting the
database name and root password. We also mount a conf file and a data folder
so that database data is persisted across container restarts (internal container
data is by definition ephemeral, so if we don’t do this we will lose our data
if the container is ever down’d).
The php service also has the repo root mounted to /var/www (so that that most
important mama of all files, index.php can be accessed), but there are some
additional dependencies we want to install not included in the standard
php:5.6-fpm image it is based on, so we include a custom Dockerfile (more
on that later). The DigitalOcean guide has port 9000 being exposed by the php
container and everything, but I found that was unnecessary (and the Geeky
Platypus doesn’t use it either) so we don’t use that here.
Step 3: Networking
I’ve skipped talking about networking because networking in Docker deserves its own blog post, really. The example in the setup we have above, though, is a good starting point to talk about the amazeballs planet that is Docker networking.2
Now, it is standard knowledge that not all services should be exposed to the public internet. Ideally, we’d only expose things like SSH and the webserver to incoming traffic. Everything else traditionally sits behind a firewall. With this Docker Compose setup though, we have created two different networks which serve our purpose much better than any finicky firewall rules would.

Internet traffic can enter the default network and hence nginx, but it cannot enter the internal network.
In our dual-network setup, internet traffic can access nginx through the external (default) network (which uses the host driver, which allows it to bind directly to the Docker host’s network), but cannot access the internal bridge network. nginx, which sits on both the default and internal networks, can use the internal network to communicate with php and mysql.
Note that this works for HTTP traffic (as our nginx container only exposes port
80), but on the server you might use something like
docker-letsencrypt-nginx-proxy-companion to make life easier (and support
HTTPS). It takes care of SSL certs and all that. You will have to replace the
default network in the compose file with the nginx-proxy network, attach the
webserver service to it, and add the VIRTUAL_HOST, LETSENCRYPT_HOST,
LETSENCRYPT_EMAIL env variables to make proxy companion pick up the hostname
and the certificates you need.
Step 4: PHP Dockerfile
We need to install the mysql client and the PDO_Mysql PHP extension on the php
service, so we’ll create a Dockerfile for that.
FROM php:5.6-fpm

# install dependencies
RUN apt-get update && apt-get install -y mysql-client

# install php extensions
RUN docker-php-ext-install pdo_mysql
I later found out that none of the images on Kottu were showing up and it’s because
Timthumb (yes, Kottu still uses Timthumb, please don’t hack us!) needs GD, which
wasn’t installed. So let’s add those lines to the file too:
# Install GD and it's dependencies

RUN apt-get update && apt-get install -y \
libfreetype6-dev \
libjpeg62-turbo-dev \
libpng-dev \
&& docker-php-ext-install -j$(nproc) iconv \
&& docker-php-ext-configure gd --with-freetype-dir=/usr/include/ --with-jpeg-dir=/usr/include/ \
&& docker-php-ext-install -j$(nproc) gd
Step 5: The mysql and nginx conf files
my.cnf is so basic that it doesn’t even deserve mentioning, but obviously you can
add more configurations here:
[mysqld]
general_log = 1
general_log_file = /var/lib/mysql/general.log
The site.conf file for nginx is your standard nginx + php site config:
server {
    listen 80;
    index index.php index.html;
    server_name localhost;
    error_log  /var/log/nginx/error.log;
    access_log /var/log/nginx/access.log;
    root /var/www;

    location / {
        try_files $uri $uri/ /index.php;
    }

    location ~ \.php$ {
        try_files $uri =404;
        fastcgi_split_path_info ^(.+\.php)(/.+)$;
        fastcgi_pass php:9000;
        fastcgi_index index.php;
        include fastcgi_params;
        fastcgi_param SCRIPT_FILENAME $document_root$fastcgi_script_name;
        fastcgi_param PATH_INFO $fastcgi_path_info;
    }
}
It tells nginx to listen for traffic on port 80, make /var/www the web root, try to
find static files for the paths that visitors are trying to access, and then redirect
those requests to index.php if that fails, and pass php requests to php:9000 (which
means port 9000 in the php service).
Step 6: Rock ’n’ Roll
We now get to say the magic words:
docker-compose up -d

Ah, satisfaction...
After the images and dependencies are downloaded and the containers are set up, a
docker ps3 will reveal that three new containers have spun up and we’re ready
to roll. We direct our web browser to localhost:8000, and...
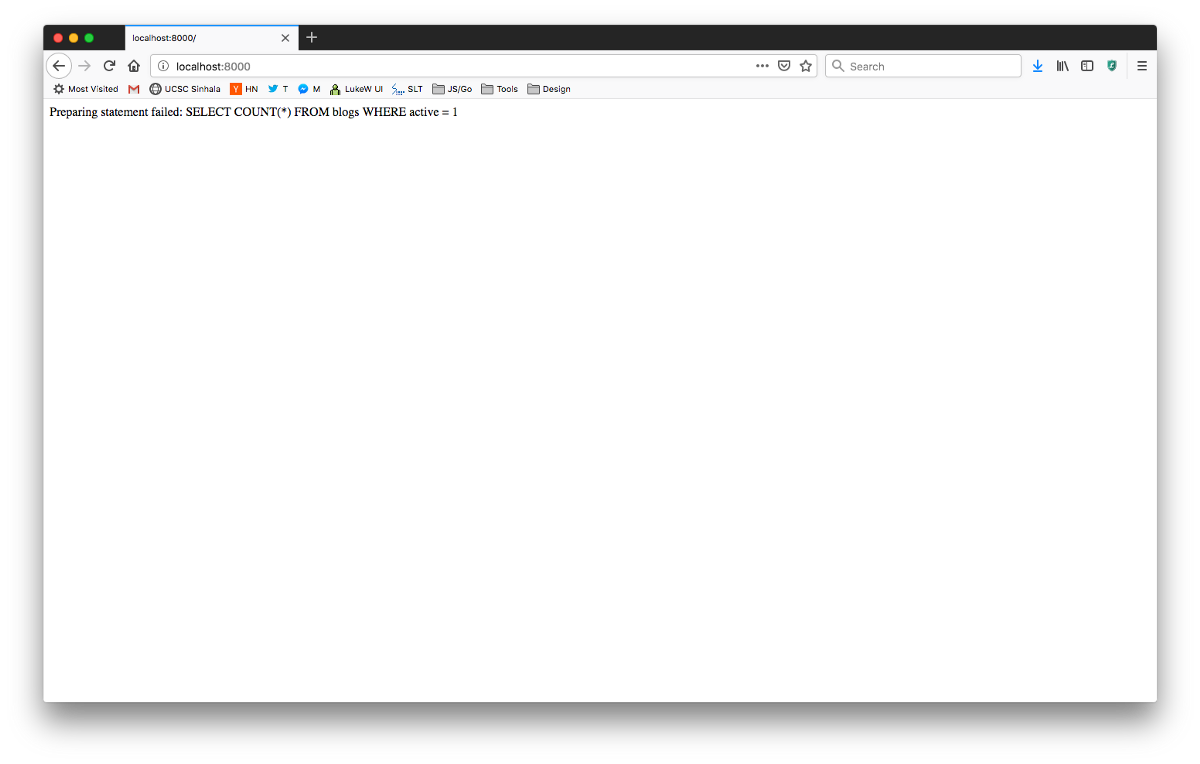
Victo- oh god!
Whoops, we still need to import the database. But fear not, that’s pretty easy.
docker-compose exec php bash
root@3836dc148c6a:/var/www/html# cd ..
root@3836dc148c6a:/var/www# ls
LICENSE  README.md  cache  config.php  docker  docker-compose.yml  html  img  index.php  kottu.sql  lib  static  templates  webcache
root@3836dc148c6a:/var/www# mysql -h db -u root -pyour_mysql_root_password kottu < kottu.sql
I just bash’d into the container, ran the mysql client4 (remember installing that
via the Dockerfile earlier?) and redirected kottu.sql (which holds the database
schema) into it. Now, things still look empty but not broken:
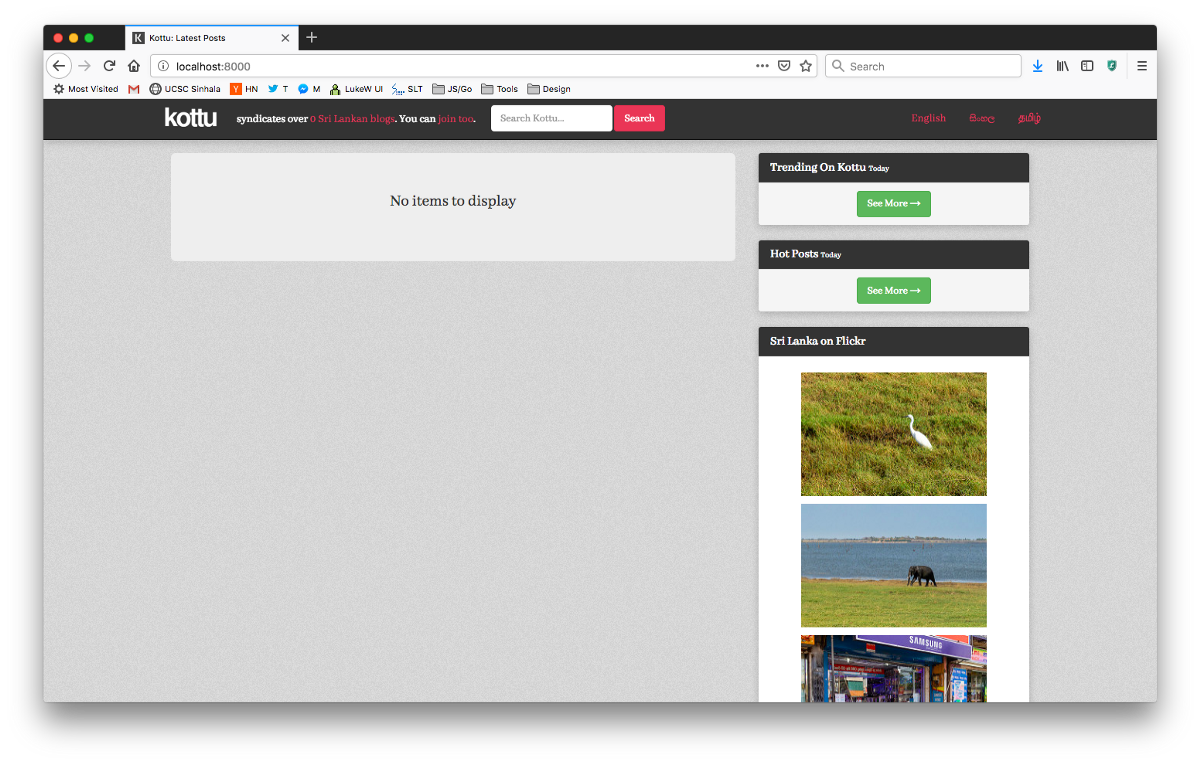
Did you guys know that Flickr still exists?
Step 7: Add a blog and fetch its posts
Let’s go to the Kottu Baas admin interface, which most people haven’t seen. Get ready for some Web 2.0 super secure shit, yo.
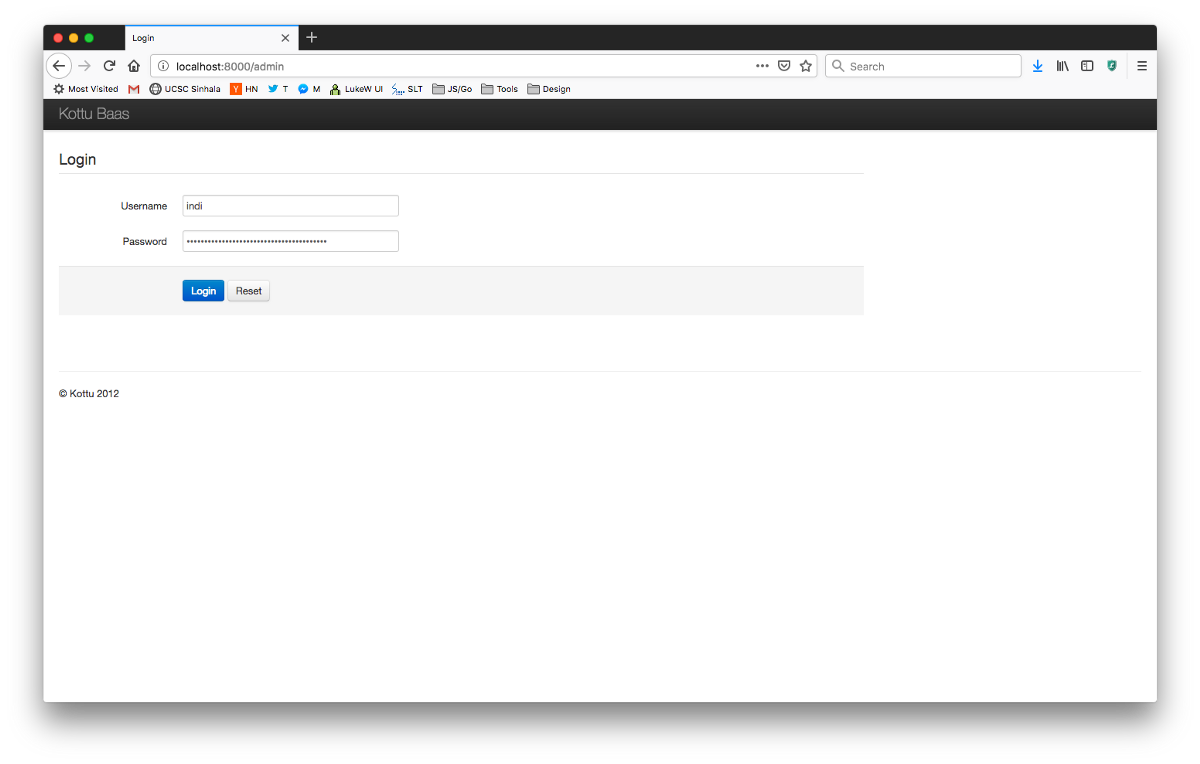
Like all great login forms from 2012, the password is SHA-1 hashed on the clientside itself! SEKURITEEH.
After entering the default username/password combo of indi/indi, we are inside the uh-may-zin admin interface:
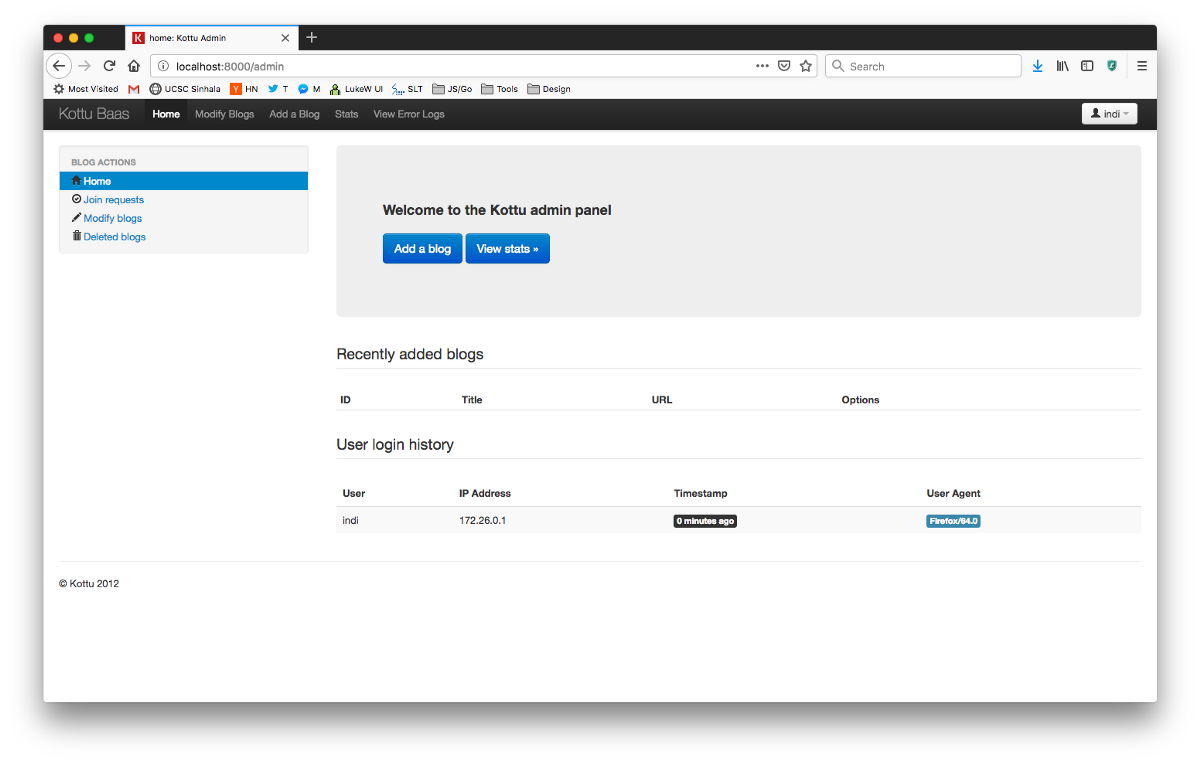
We click “add a blog” and a POPUP shows up! How wizard is that?
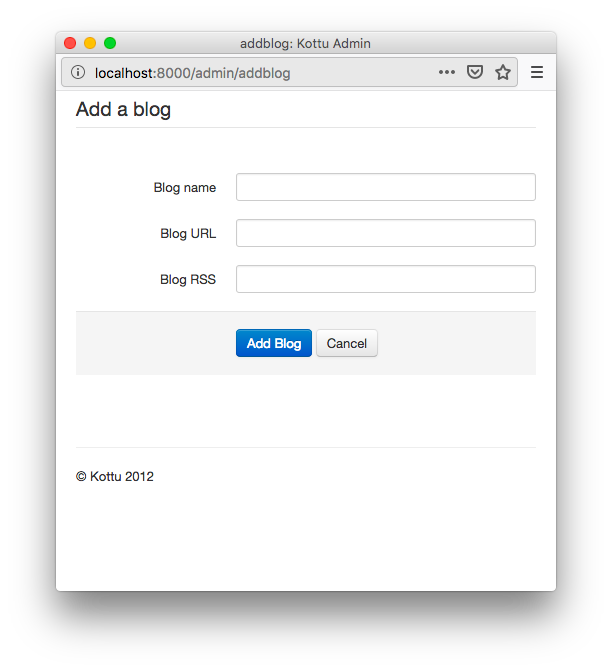
The copyright being stuck in 2012 is just apt!
In my bout of narcissism, I add my own blog and navigate to
localhost:8000/admin/feedget/<secretkey>, and voila:
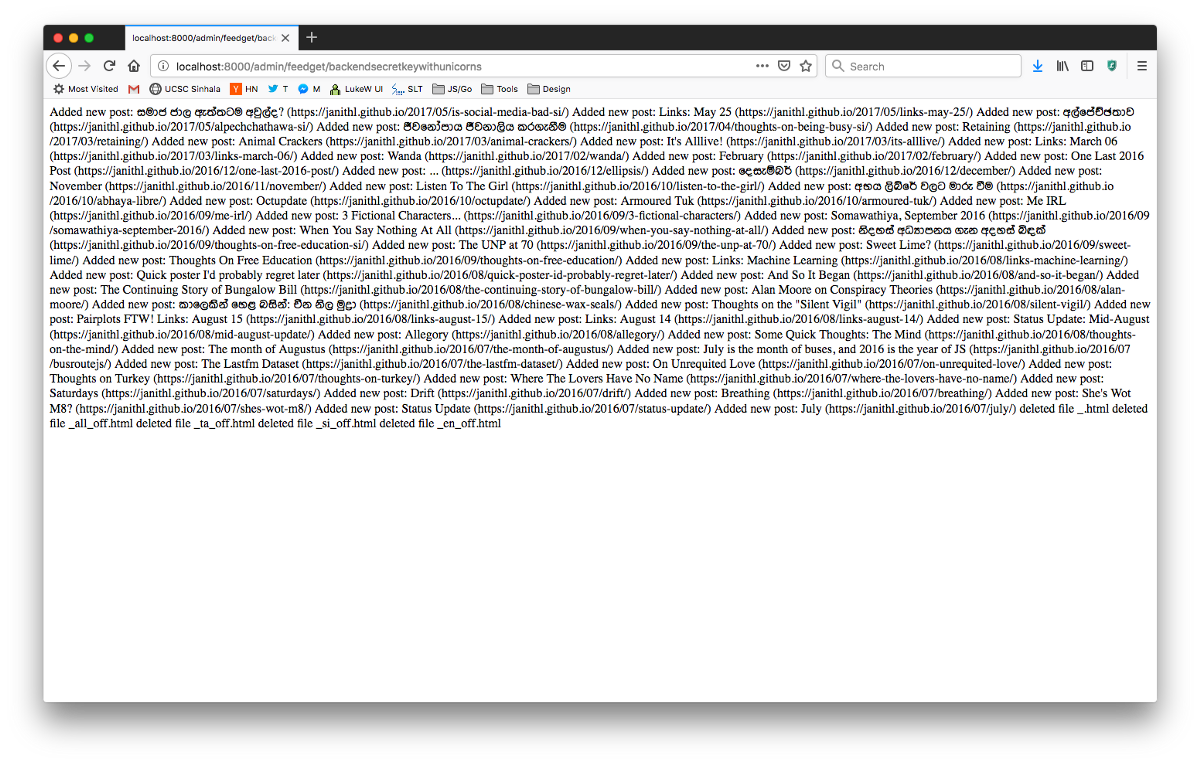
backendsecretkeywithunicorns! SEKURITEEH.
Aaaand, finally:
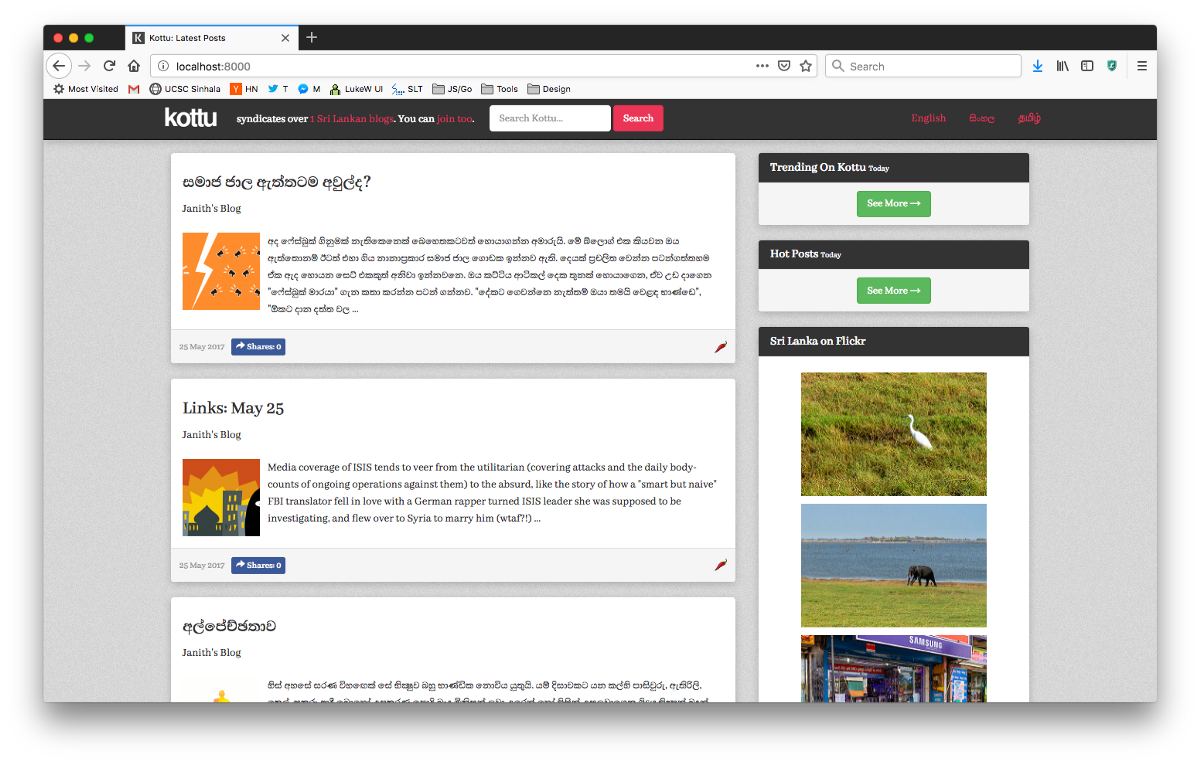
Even Timthumb works, uguise. :')
And there we have it. Now you’ve got your own piece of 2012 tech running a personalised version of Kottu on Docker! Next week, we cover how Kubern—5
* * *
Okay, this post isn’t the most comprehensible piece of writing I’ve done. It feels rushed and under-explained, and yet resulted in a very long post. The topics covered honestly require blog posts of their own, and time permitting, I would do one or two over the course of the year. But here’s a start. And it feels like a Friday night (and half of Saturday) well-spent setting up an ancient piece of code on Docker6, so that it becomes at least a tad more accessible.
I think I need to attach a fair warning: DON’T RUN THIS IN PROD, FOLKS. It’s from 2012 and has security holes the size of the Mariana Trench in it, and it’s a miracle that kottu.org still continues to run7.
-
Another really cool thing about Docker that I missed mentioning in the post is the ability to run different versions of, say, mysql or php (as your apps need them) on different containers. This is really helpful if you have a bunch of old code that can only run on an older version of php/python/whatever... ↩
-
Docker networking is seriously amazing, and they do things like adding iptables records to make it possible. I would recommend reading the Network section of the Docker docs. ↩
-
Docker has some really cool commands that help you administer everything. Some of my favourites are:
docker ps— lists all the running containersdocker stats— container statsdocker-compose logs -f— logs from all the containers in the compose filedocker network ls— lists networks ↩ -
A sharp-eyed reader might ask: "why not just run the mysql client from the
execcommand?". Well, I tried that and it gives some weird tty error that I remember once solving, but I forgot how. This bash/mysql method described here works without issue. ↩ -
This is a joke. I don't know Kubernetes. Who does, really?
¯\_(ツ)_/¯↩ -
I updated the repo and its README with how to do a Docker setup! ↩
-
Hat tip to the mysterious maintainer who set up nginx and LetsEncrypt SSL certs on the Kottu server!